Battle To The Top is the first post-game area of Let It Die, unlocked after defeating the final Don and witnessing the conclusion to the game's Story. This area contains the floors from 41F to 50F; many players simply call it The 40's. Unlike the previous areas, there is no Faction or Don controlling it, rather, each floor layout is a random layout from one of the existing 1F-40F floors. Some of the most notable changes are that you may no longer descend Escalators, and that every enemy you face is now a Hater.
The area may be accessed by returning to 40F FUTAGI and going up the escalator to 41F SU-OI, which is an empty floor with an Elevator. Beyond Battle To The Top is the final area of the game, Tengoku.
Unlocks[ | ]
Upon beating the game and reaching Battle To The Top, there are a few things that become unlocked.
- Grade 6 All-rounder
- Costs 100K KC from the Fighter Freezer. Beware that buying a Grade 6 will raise your TDM Rank to 76, and will allow other Grade 6 players to send Hunters after you. This can range from players who've just beaten the game, to players who are on the cusp of Grade 7, which is a fairly large gap. You can postpone buying one; however, only Grade 6 Fighters can eventually become Grade 7 and Grade 8.
- Other Grade 6 Classes are unlocked through Quests, except for Striker, Defender and Collector, which are unlocked after reaching 50F.
- Mushroom Club Decals
- After defeating Taro, additional Non-Premium decals become available for KC or Skillshroom Trade at the Mushroom Club. The most notable of these is Treasure Hunter, a decal which reveals the map that can be traded for 2 Golden Skillshrooms.
- Tier 4
- While reaching Tier 4 on any piece of equipment is possible before the 40s, the process becomes easier once you have access to these floors. It is advised to get a weapon and set of armor to Tier 4 as soon as possible, as they provide a much-needed boost for this area and beyond. All Forcemen gear also starts at Tier 4.
- Forcemen
- While the Forcemen are never technically locked, reaching Grade 6 is generally where you can start trying to actually defeat them, starting with White Steel. Hard and Nightmare will drop Blueprints for their Weapons and Armor. Forcemen can only be fought on Wednesdays and Sundays.
- Login Bonuses
- After reaching 41F, you will recieve the highest tier of login bonus possible from the Rewards Box. This can be particuraly valuable during events when better bonuses are given out, as they are still based on your highest floor.
- Stamp Mount Exchange
- Appears in the Waiting Room next to the Superscope. Allows you to reset Stamps for another try at getting Perfect on them.
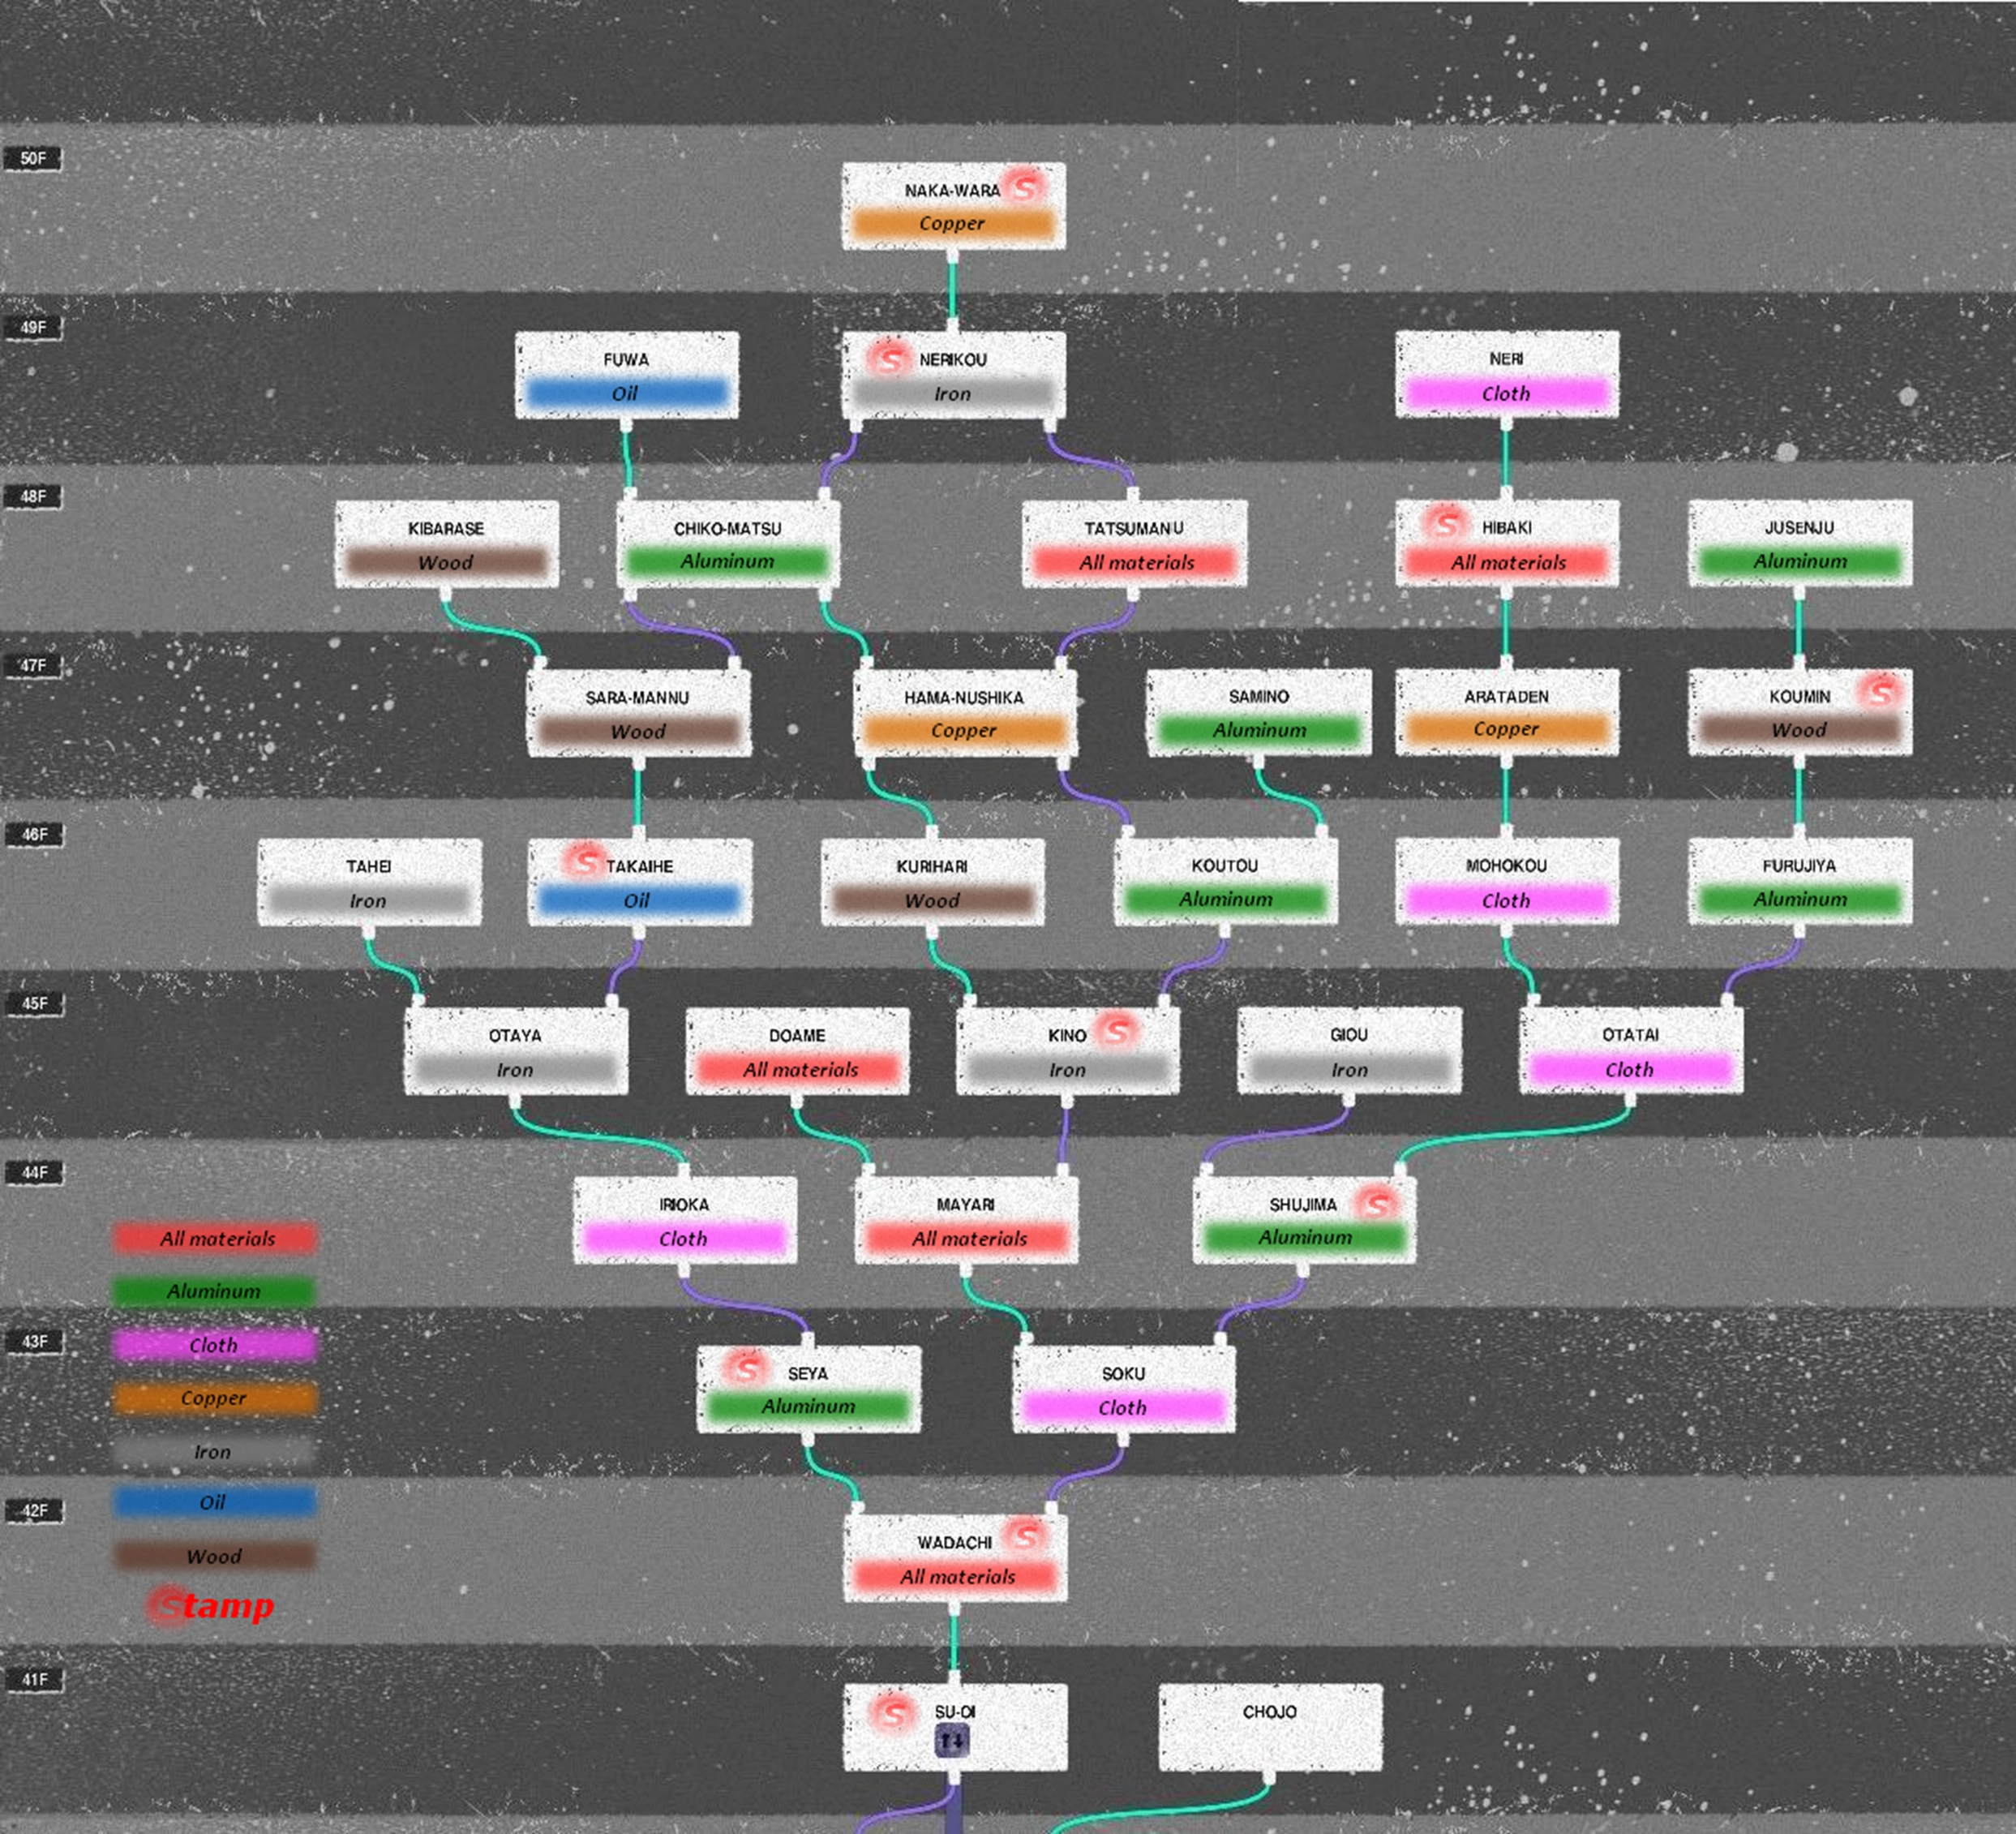
Floor Map[ | ]
Overview[ | ]
There are several unique features of the 40's that are different from the rest of the Tower. Many of these features also persist into Tengoku.
Item Limits[ | ]
You can only enter Battle To The Top through the Gate on 41F SU-OI. However, there is a limit on how many items you can bring inside with you. The normal limit is 5 items, though if you have an Express Pass active, the limit increases to 7 items. Next to the gate, there is a Dustin TD which can send extra items in your inventory down to your Rewards Box for free. This gate does not negate mushroom effects.

Floor Gates[ | ]
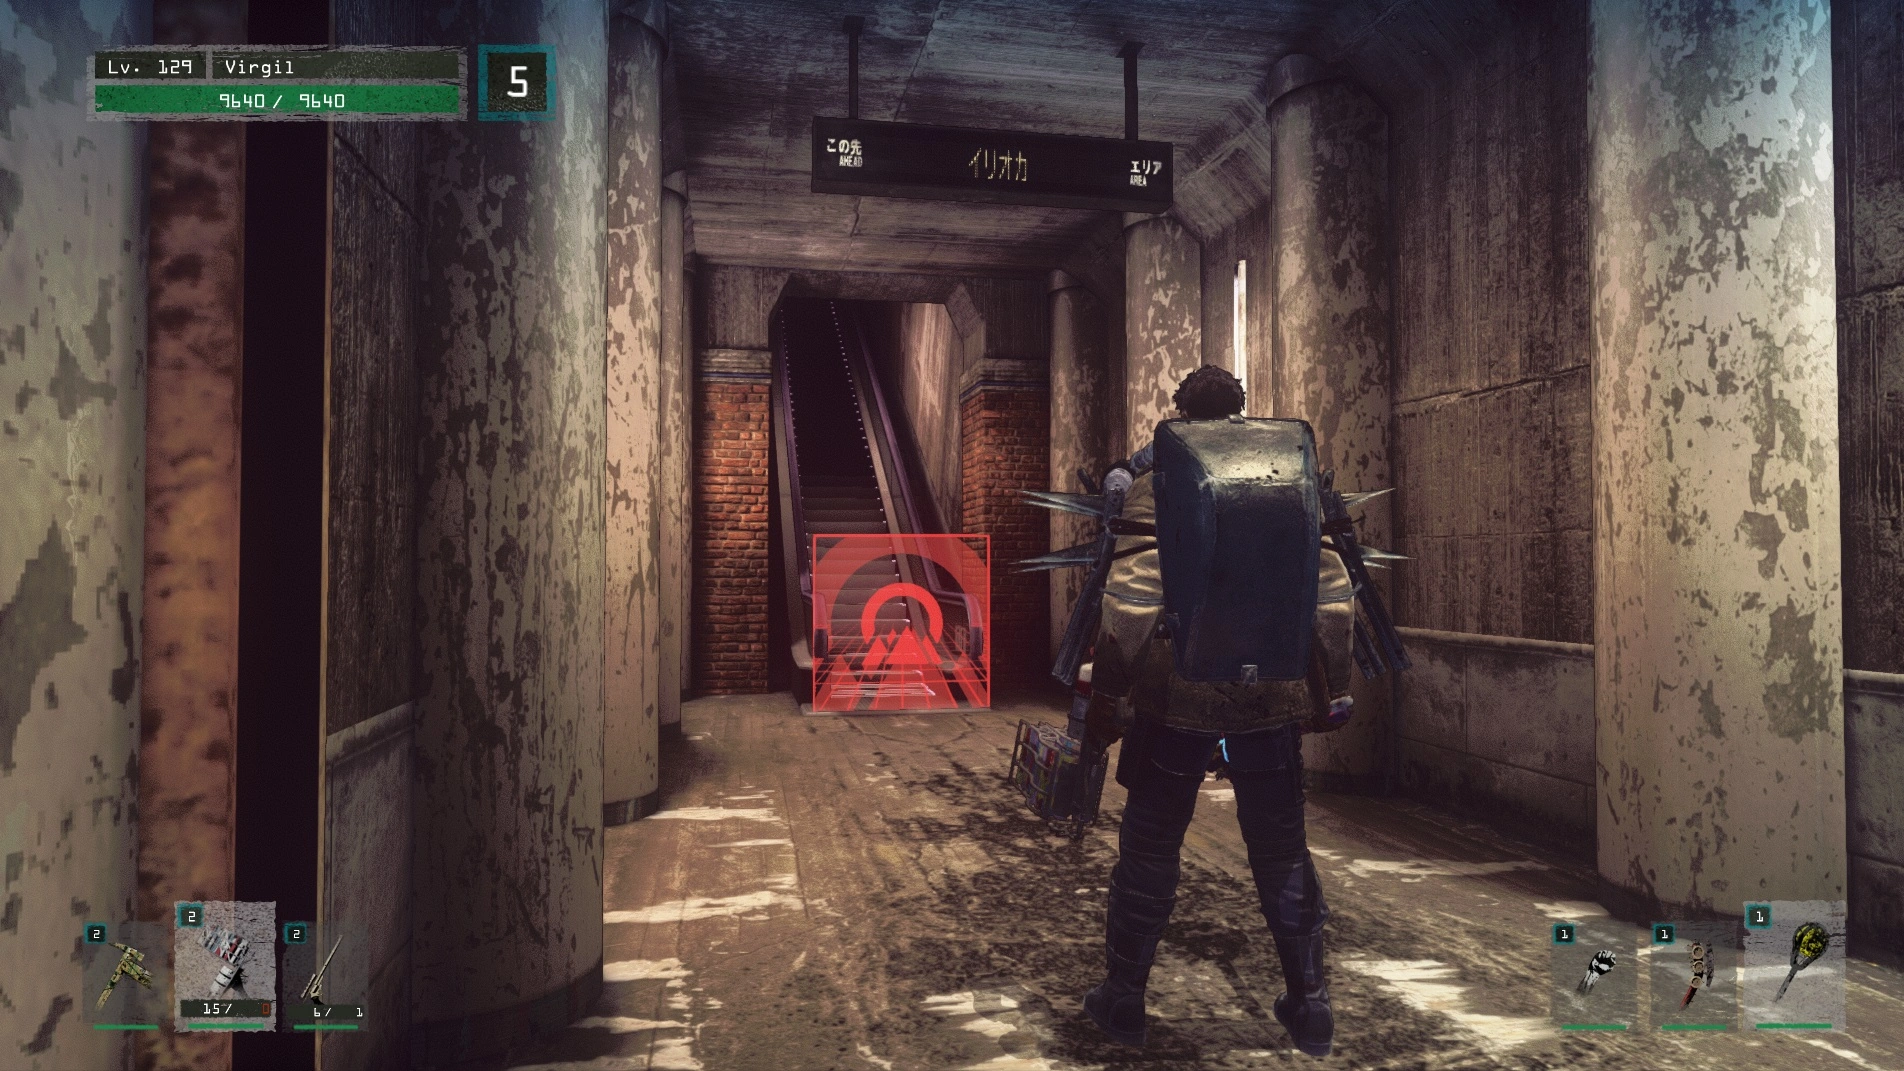
Once you go through the Gate, you pass the point of no return. From this point forward, you will be unable to descend any Escalators, and there are no more Elevators until 51F.
Additionally, there is a chance when moving to a new floor that the Escalator(s) going up will be blocked by a Red Gate. There will be a small cutscene after you step off the Escalator to shows you this. These gates are only removed once you've killed a majority of the enemies on that floor (though not every single one). Beasts do not count as enemies.
Randomized Floors[ | ]
While each floor still has escalators to other specific floors, the floors themselves are random. They can appear as any of the D.O.D. ARMS, War Ensemble, Candle Wolf or M.I.L.K. floor layouts. This will change every single time you enter Battle To The Top. There is also no daily Tectonic Terror rotation for 42F+.
The area itself is a 5-Star area, so R&D Materials on All-Material floors will spawn as 5-Star only. Material-Specific floors can spawn 3, 4, 5, and (rarely) 6-Star Materials of that type. The exception to this is Fiber materials, which spawn as any rarity, up to 5-Star. Carbon Fiber is another exception that can still spawn on All-Material floors, despite being 6-Star.
The Beasts and Shrooms that can spawn are also randomized, as previously area-exclusive ones will spawn no matter the area. There are some notable outliers: Pillbugs, in general, show up much less often. Bronze Skillshrooms do not spawn, though the area will somehow spawn Silver Skillshrooms somewhat frequently. The non-nerfed versions of the Falseshrooms seem to spawn more frequently than they do in the normal Tower.
Hardcore Haters[ | ]
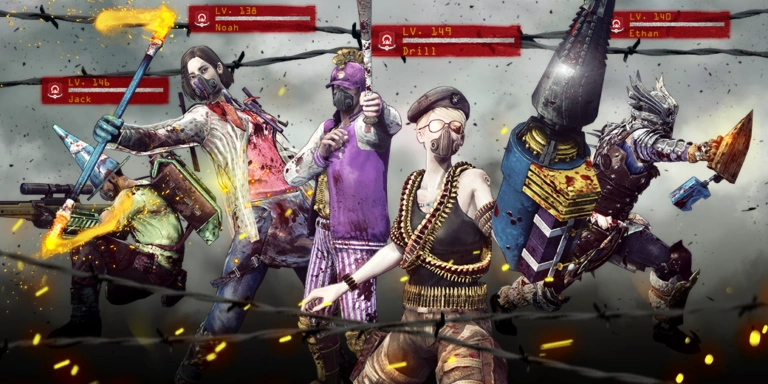
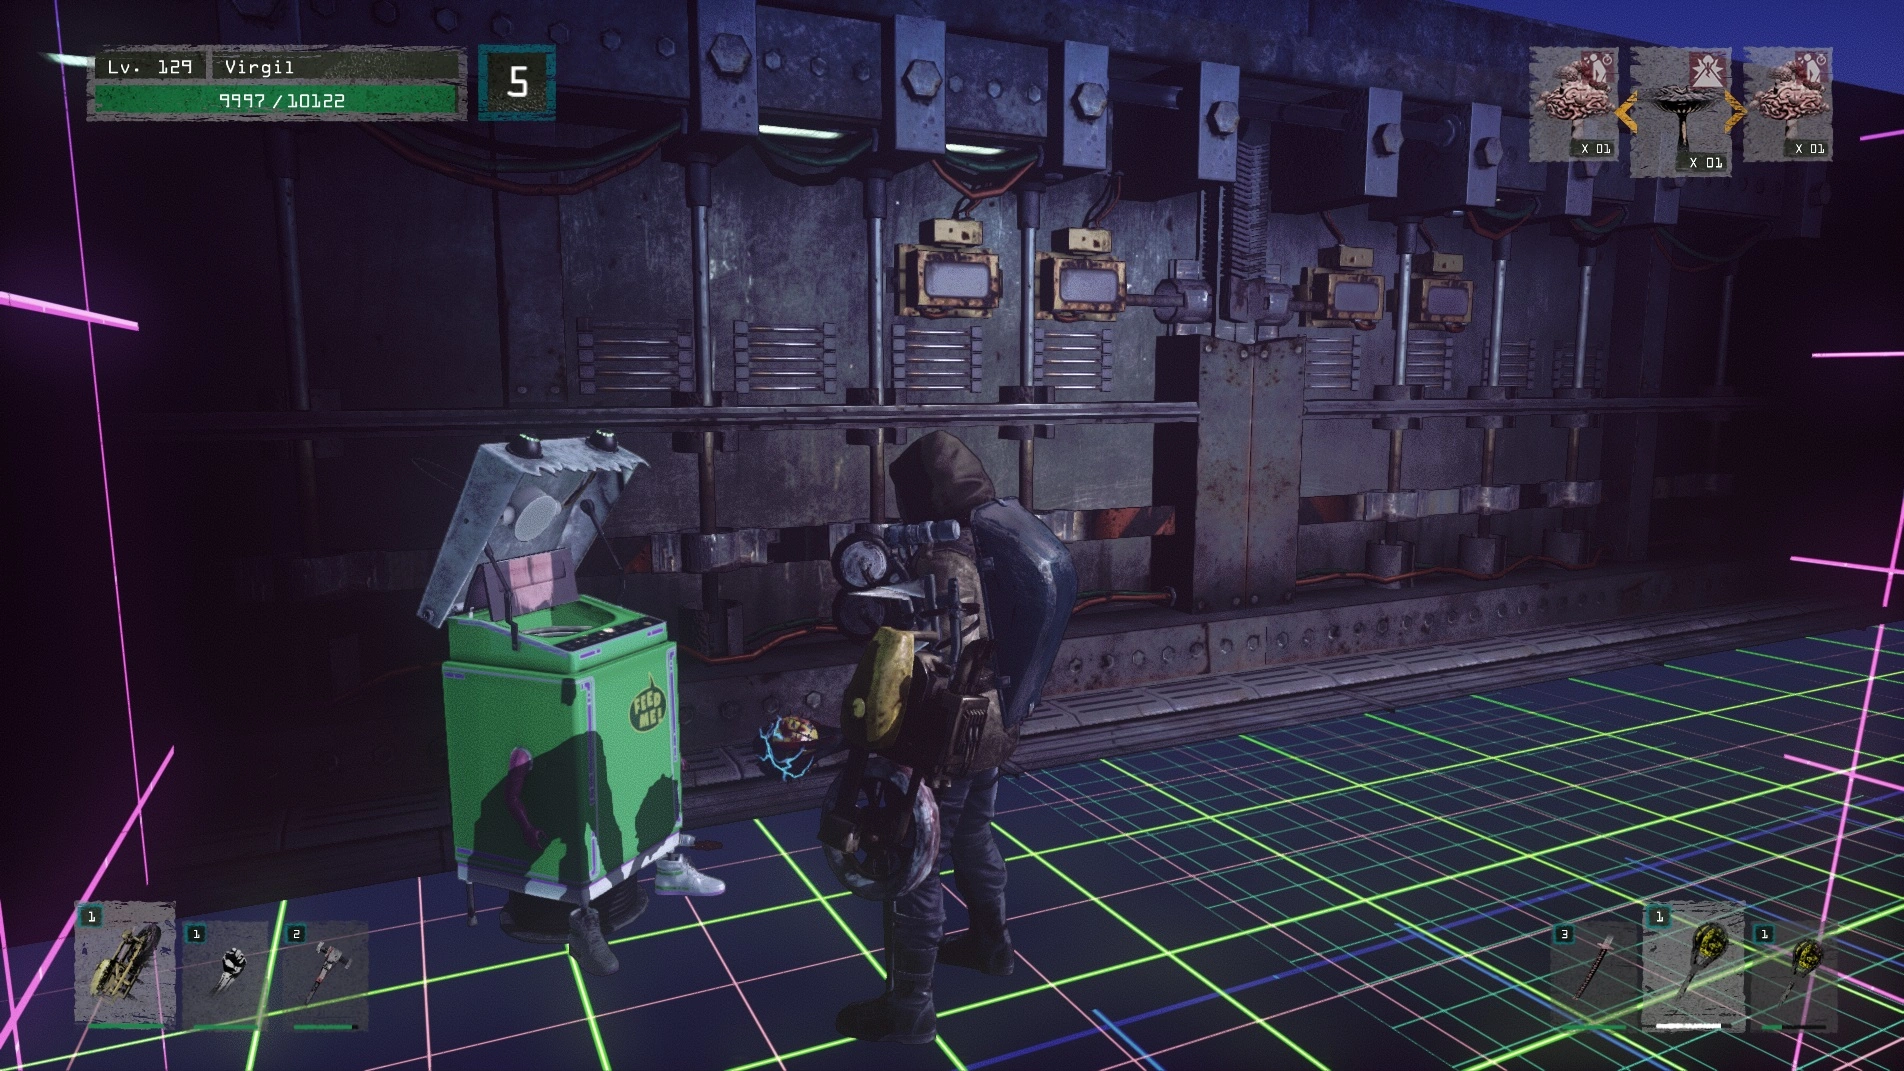
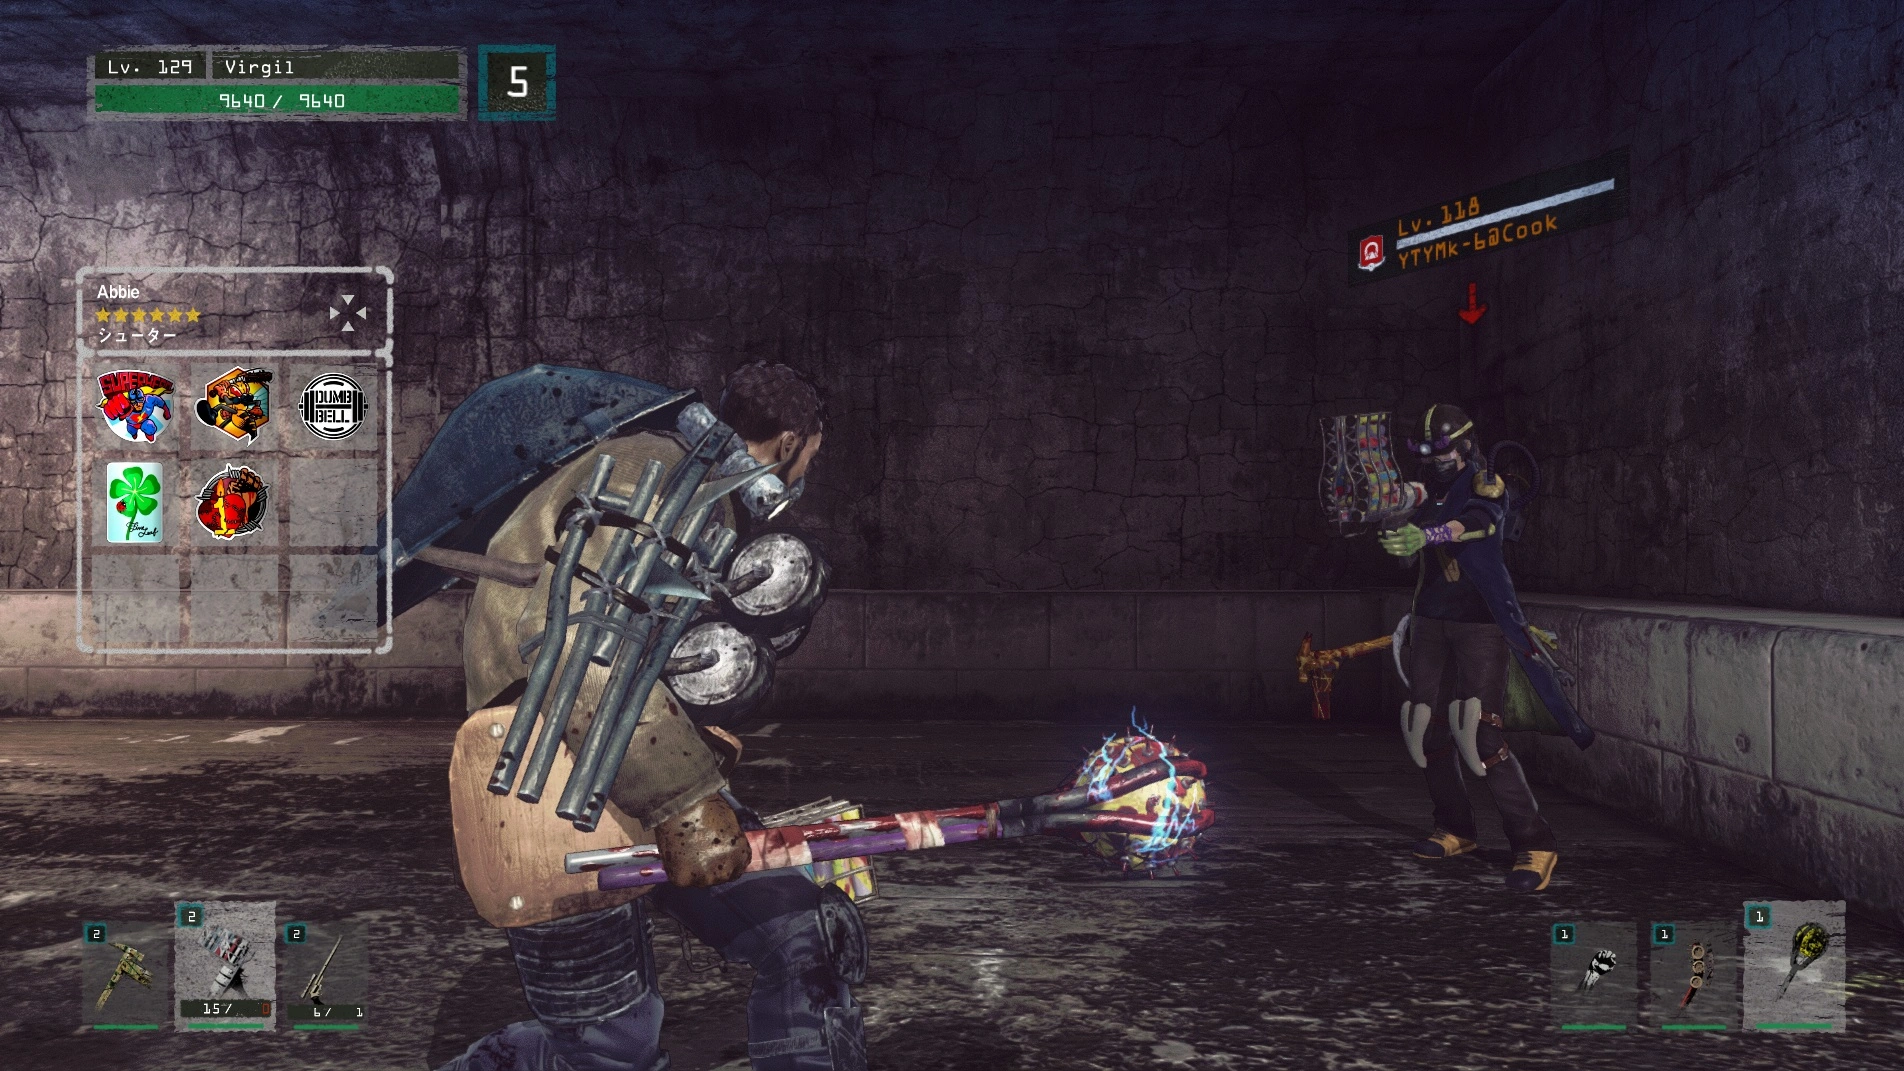
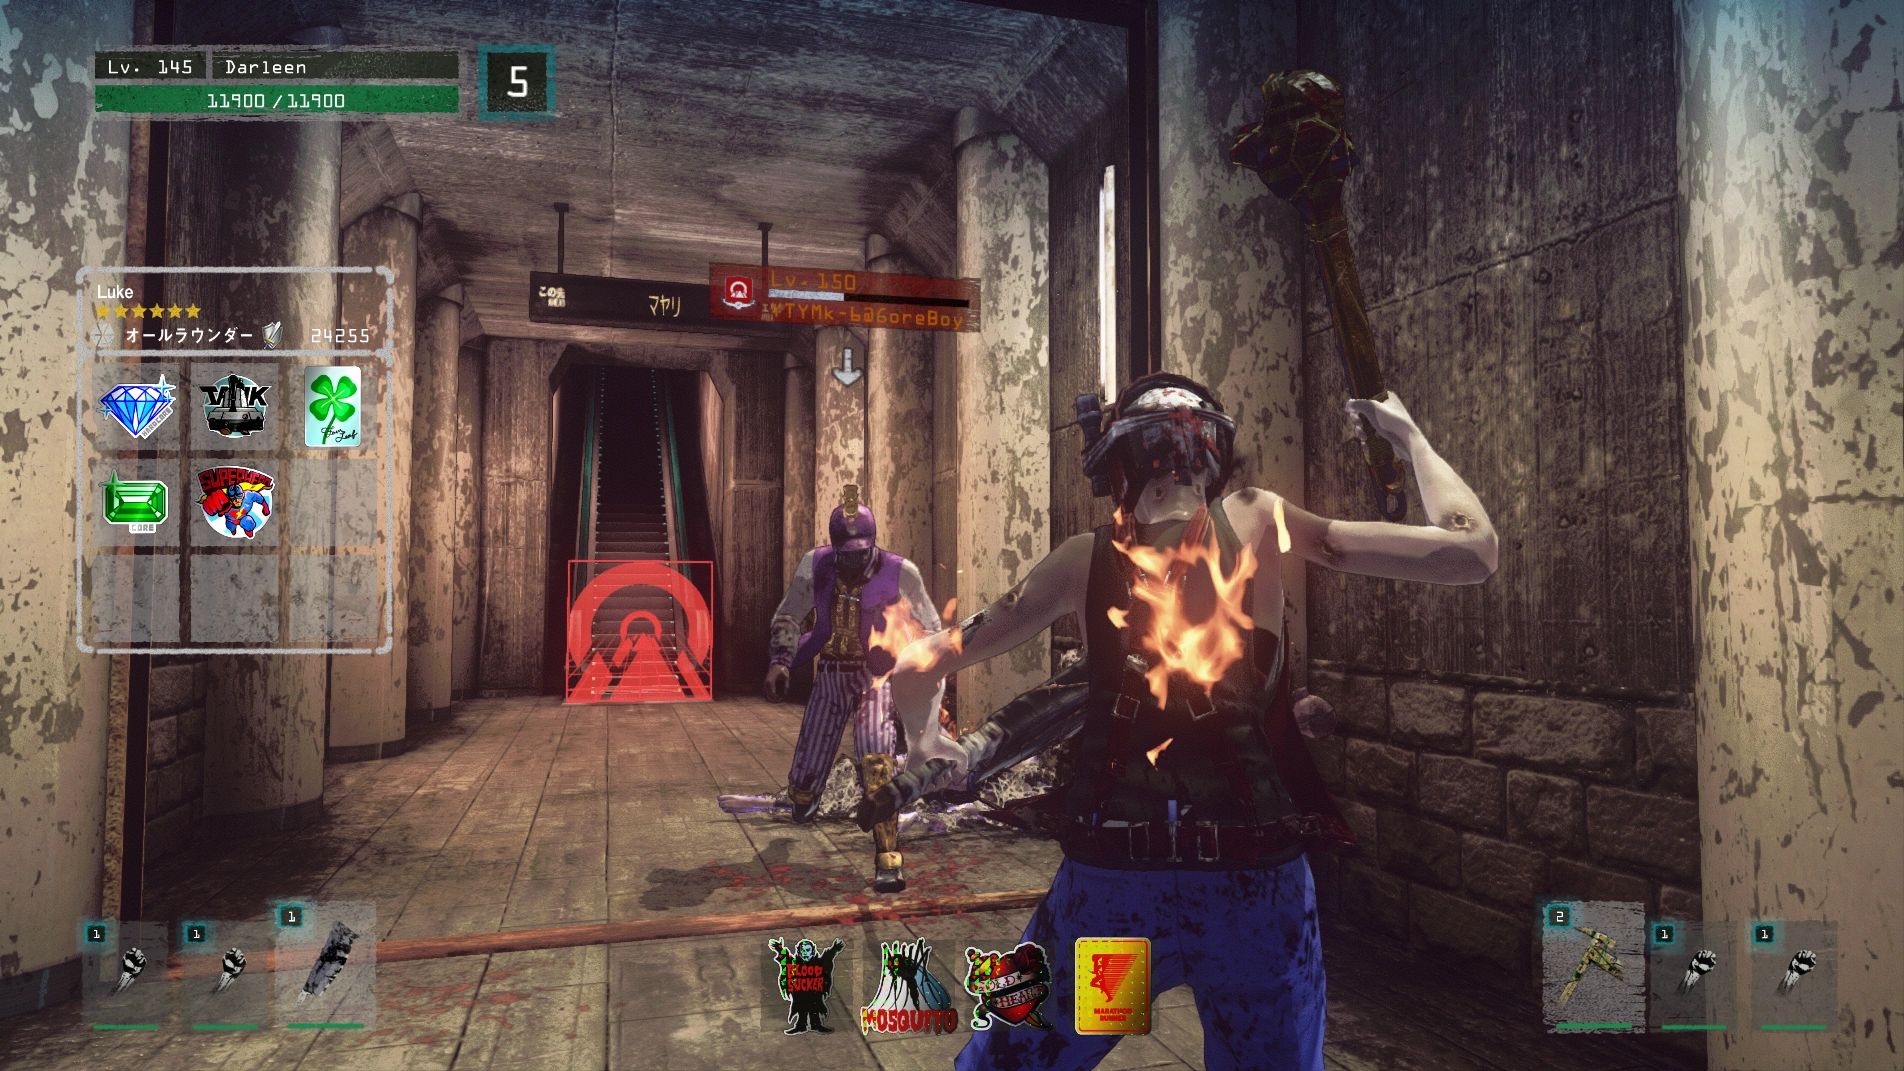
In Battle To The Top, all Screamers have been replaced with Haters, and Tubers no longer spawn. Hunters may also be sent to this area. There are several notable differences Haters have compared to Screamers: Haters are better geared, faster, will dodge, block, recover, and can wear Skill Decals. Though naturally, since Haters are based on other players, they are only truly as strong as those players were. However, there are multiple Dev Haters with more organized builds than many of the Player Haters. They can be indentified as the Haters that are on Team Yotsuyama, and have the YTYMK-#@<name> format. # is replaced by the Grade of the Fighter. In the 40's, Grade 5 and 6 Haters will appear. Haters in the 40's will drop small amounts of SPL and KC when killed.
There is another variant of Hater that appears at 42F+ called Hardcore Haters. The box with their Level, Health, Name, and Team will be colored Red instead of Black. Both Player and Dev Haters can spawn as Hardcore Haters. They are allegedly stronger than normal Haters, though this is difficult to test. However, if they're Poisoned, they won't ever stop to vomit and will keep coming after you.
Hardcore Haters are also the only Haters who will drop Chests. These can contain Barbmeat Half/Full Portions, Tuber Metals, or Faction Metals up to Purple.
There is also single Hardcore Hater every floor who will drop a large amount of KC, which can drop at the same time as a Chest.
Shopping Area[ | ]
When moving up an Escalator, there is a chance that the next floor may be replaced with a Shopping Area. This only occurs on floors with only one entrance and one exit.
There are two shops in the Shopping Area. The first is a limited version of Choku-Funsha, where you can purchase any item you've R&D'd before, as normal. However, you are only allowed to purchase 3 items. Restock timers are still a factor, and do not reset when leaving the floor or finding another shop. You are also not allowed to sell anything back to the shop.
The other shop is the Hernia. Here, you can only buy from the "Today's Lineup" option. You have access to the same random daily materials as you do from the Waiting Room; so buying them in the Tower is not a great idea. However, you also have access to the Barbmeat Half Portion, Barbmeat Full Portion, Solo Shelter, and Tryptamine D. You can only buy one of each, but they will restock whenever you return to the Shopping Area, and are in general much more useful. Keep in mind, if you use the Solo Shelter, when you re-launch the game, you will have lost any lingering shroom buffs.
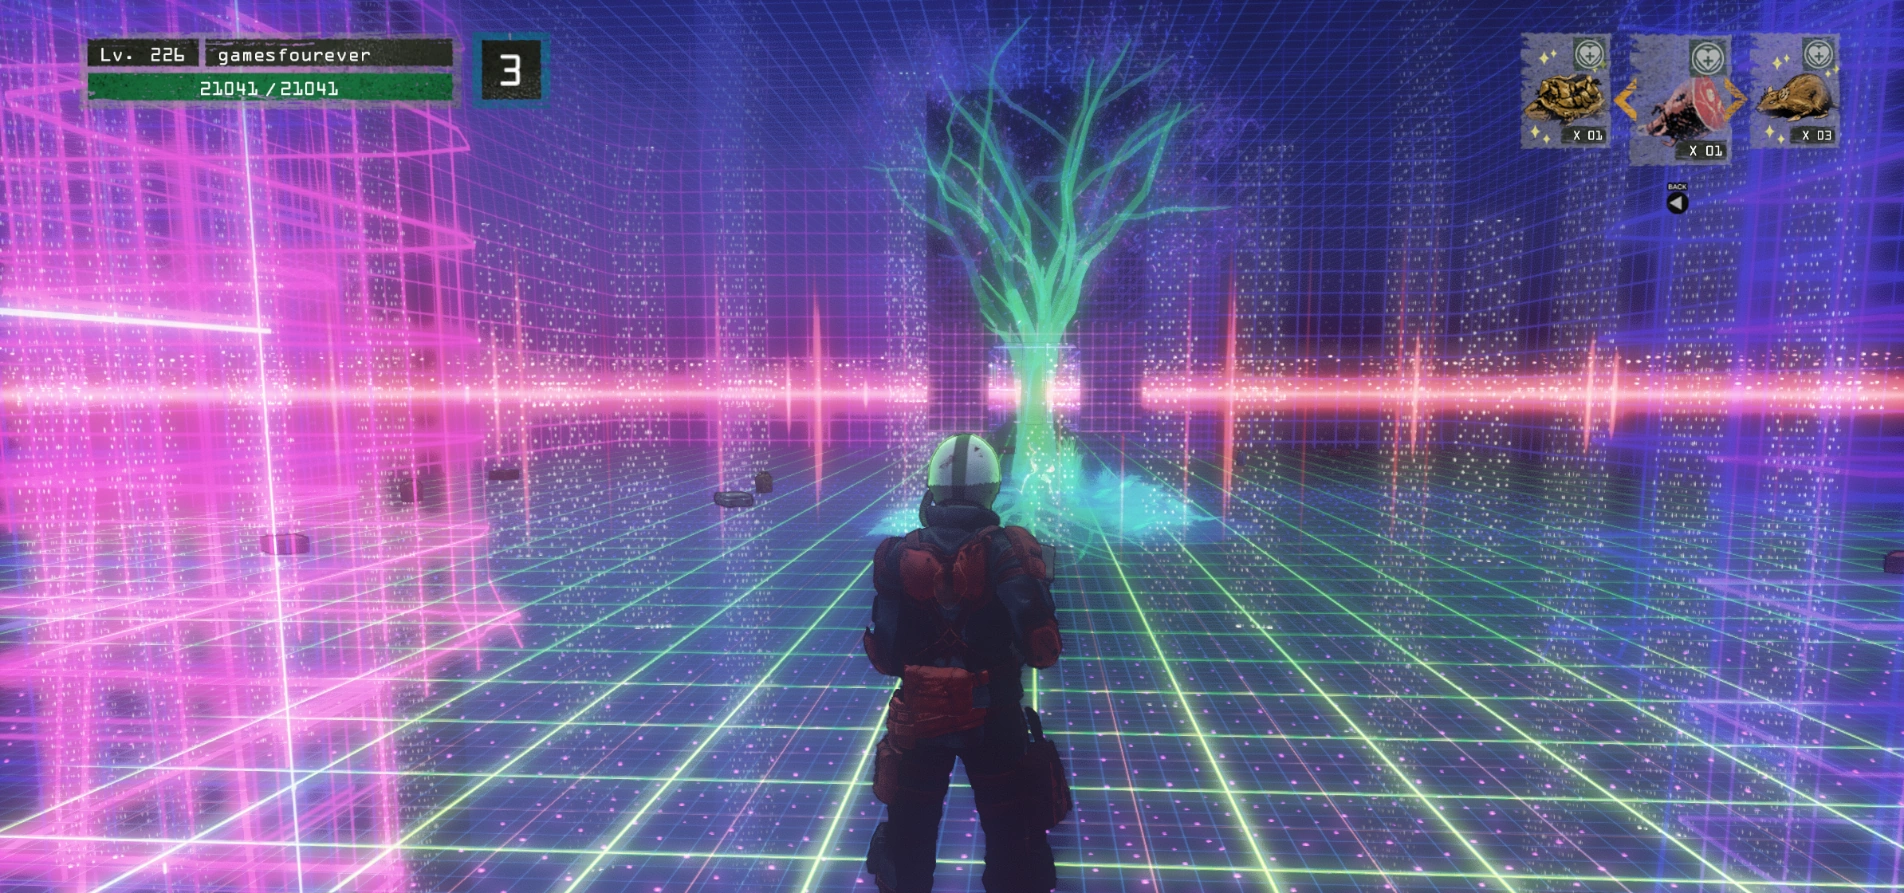
Rarely, a Shopping Area may be replaced by a Tree floor; a room with a holographic Tree in the center surrounded by KC chests and R&D materials.
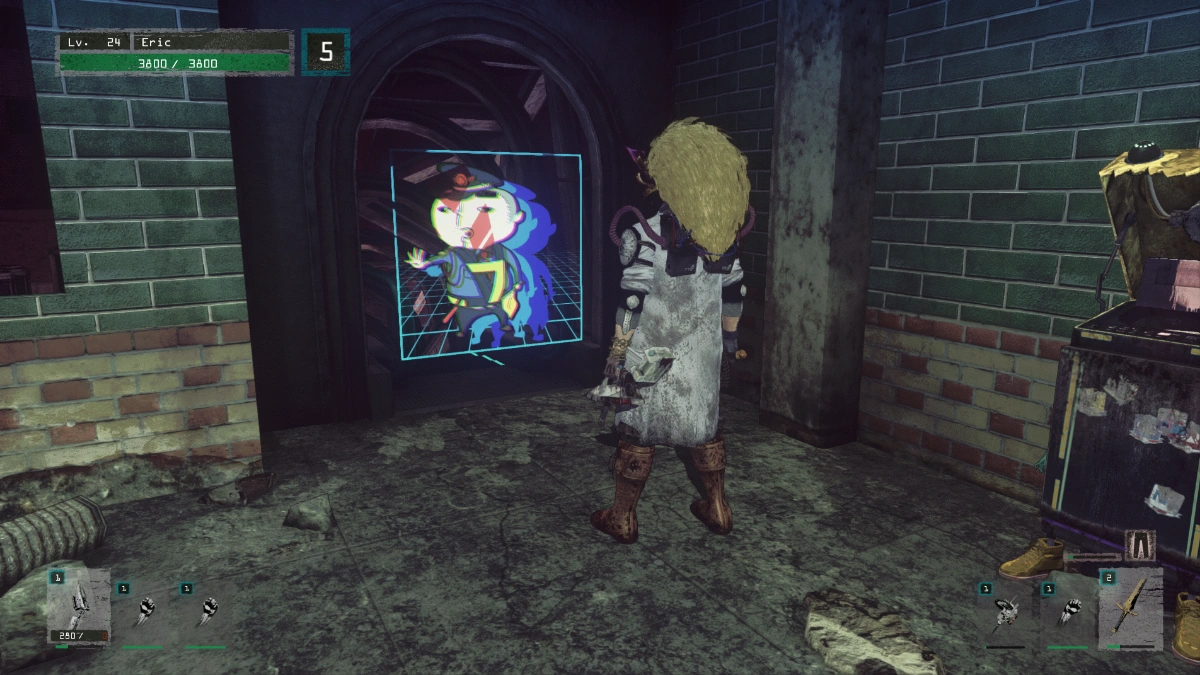
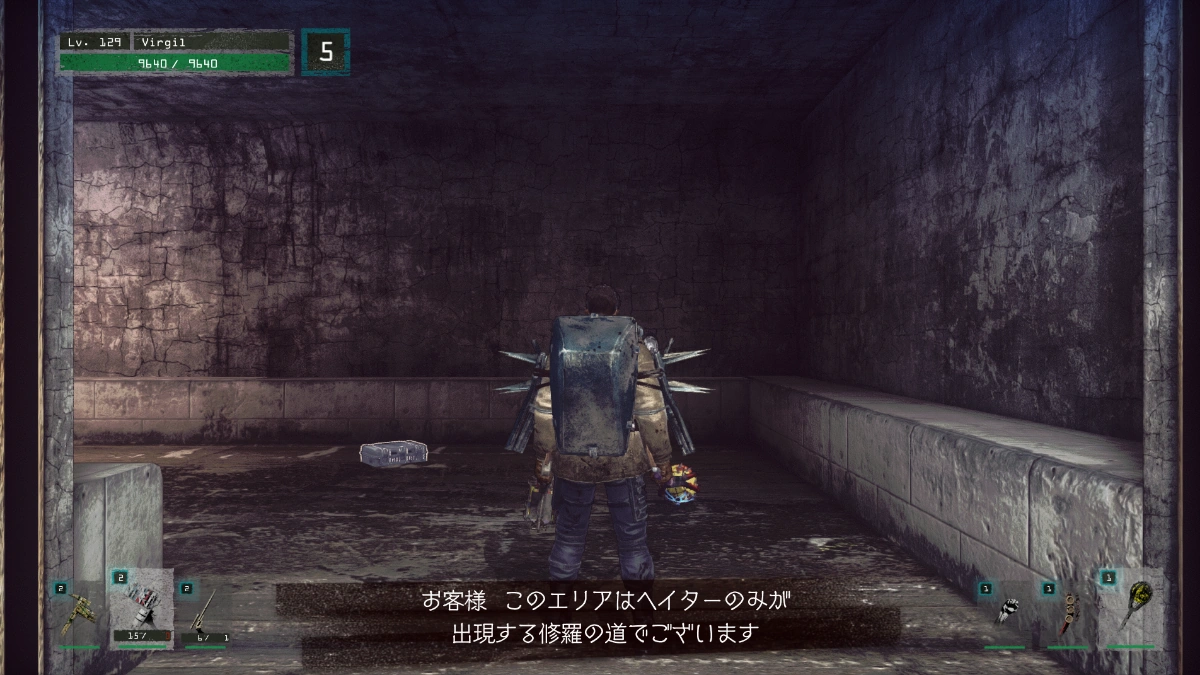
Treasure Rooms / Tryptamine Server[ | ]
All of the dead-end rooms in the 40's are Treasure Rooms. These rooms contain a cluster of R&D Materials, Red and Silver chests containing a couple thousand KC, and a Gold Chest that can drop a Black (rarely), Red or Purple Faction Metal. There are typically 6-7 chests with KC and 6-8 material spawns. 6 is more common.
At the back of the room is the Tryptamine Server. Using this has the same effect as using a Tryptamine D; you will immediately be sent back to the Waiting Room, no strings attached.
Stamp Rally II[ | ]
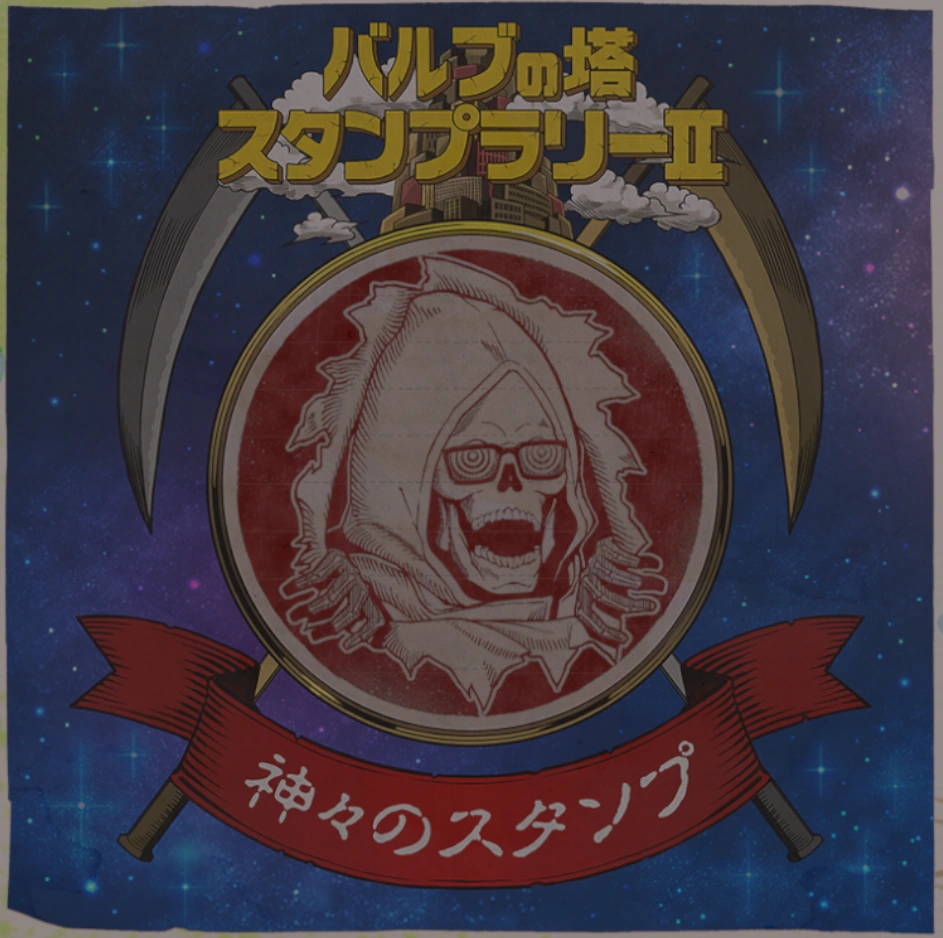
Battle To The Top introduces the second set of stamps, Stamp Rally II. It covers the floor range from 41F-50F. Completing it will reward the X-Ray Glasses, the glasses worn by Uncle Death. Finishing it non-Perfect rewards the Blue version with a STR bonus, while completing it Perfect rewards the Red version with a DEX bonus. Wearing the glasses also makes you immune to bonus Headshot damage. Both versions of the glasses grant Funshots. These stamps, as well as the original Stamp Rally stamps, may be reset at the Stamp Mount Exchange in the Waiting Room.
Jackals Reborn[ | ]
After being defeated, the Jackals returned Reborn in Battle To The Top. These Jackals are often referred to as the V2 Jackals by the community. Their spawning condition is the same: they start to show up about ~10 minutes after all the enemies on the floor are dead, though the V2 will only show up within the 42F-49F area. However, they are noticeably more dangerous then their original versions. Aside from being tankier and dealing more damage, their fighting styles went through a complete overhaul, and they are immune to the effects of most shrooms. They will not drop any Blueprints; rather, they will drop the materials needed to continue upgrading their original gear to the next tier. As usual, being killed by them will not allow you to DM revive. Take extreme caution when facing them.
Trivia[ | ]
- Battle To The Top was originally released with Ver. 2.0 on June 28th, 2017.
- Hardcore Haters were added to the area on October 26th, 2017.
- Internally, the game calls this area Hazama, a Japanese word that roughly translates to "the space between two things, particularly when said space is very small".