| RED NAPALM | |||||||||||||
|---|---|---|---|---|---|---|---|---|---|---|---|---|---|
| |||||||||||||
| Resistances: | |||||||||||||
| |||||||||||||
| NORMAL | 12240 HP | ||||||||||||
| HARD | 30600 HP | ||||||||||||
| NIGHTMARE | 61200 HP | ||||||||||||
| Voice Actor | Hiroki "Hiro" Moriuchi | ||||||||||||
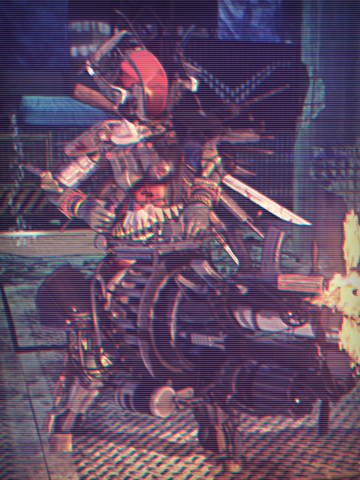
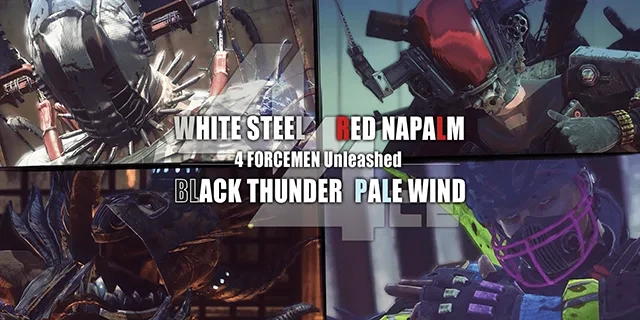
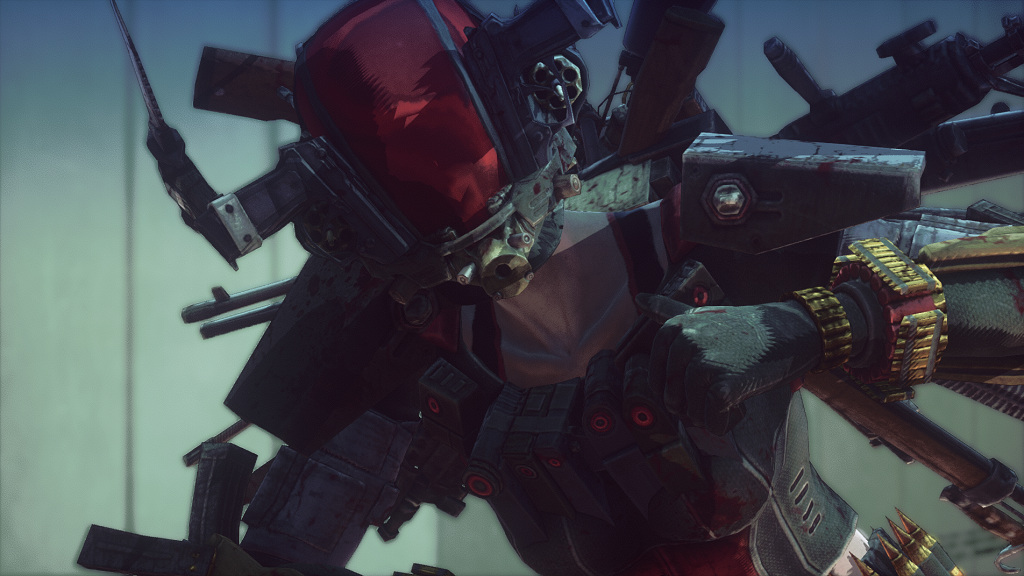
Second of the Four Forcemen, RED NAPALM represents the War Ensemble faction, and can be fought on Wednesdays and Sundays within Jackson's Area. Equipped with her own unique armor set, she blasts players with her massive M2G-87, a rotating machine gun which shoots everything from bullets and knives to rockets and lasers. Defeating Red Napalm on higher difficulties may reward the Blueprints for her gear, as well as the War Ensemble 44CE Metal needed to upgrade it. All Forcemen equipment is known for completely unique armor and weapon designs with some of the highest durability in the game.
Much more formidable than White Steel before her, Red Napalm requires more strategy and preparation to take down. Starting with her, Forcemen fights would begin removing shroom effects upon entering them, and more shrooms in the fight itself would be negated by the Forcemen directly. The rewards are well worth it, however, as her Pierce-resistant, high-durability armor makes it the most relevant 44CE set. And, due to it's versatility, her M2G-87 is the single most powerful weapon in the entire game.
Location/Rewards
| Location | Rewards | ||
|---|---|---|---|
| 12F FUGA-DOKORONORMAL |
|||
| 14F FUNE-HASHIHARD |
|||
| 17F KYUZAKANIGHTMARE |
|||
| *After Free PlayWED 10:00 UTC – THU 9:59 UTCSUN 10:00 UTC – MON 9:59 UTC | |||
As with all Forcemen, Red Napalm can only be fought on Wednesday and Sunday rotations of the Tower. If you don't see the floors on your map, you may still be on the previous day's rotation, and should enter and exit the Waiting Room to reload the Tower.
All Forcemen can be fought on each difficulty for free, once-per-day, each new day they appear. After fighting them for free once, subsequent attempts the same day will have a KC cost. If you die after starting the fight, there will be no cost to revive your Fighter with KC Salvage. This counts even if you win, so intentionally dying after the fight is over is often used to return to the Waiting Room quickly. After the fight, a gate to the Reward Chest in the back of the arena may be opened, for one of the rewards of the corresponding difficulty. Extra Forcemen Blueprints can be sold for ![]() 50000 KC. The Jackals will still spawn on Forcemen floors, provided the Forcemen has been defeated.
50000 KC. The Jackals will still spawn on Forcemen floors, provided the Forcemen has been defeated.
Farming

If you wish to fight a certain difficulty multiple times, there are certain methods and routes that may help you travel there and back faster. As a general rule: The Treasure Hunter decal will be the biggest help towards locating the floor faster. A non-Premium version can be purchased from the Mushroom Club for 2 Golden Skillshrooms. You could also consider using double Marathon Runner decals for infinite sprint, or, if you were lucky, Spy and Ultra-Marathon Man. You should also carry a weapon to deal with enemies along the way, not meant for the fight.
For Red Napalm, if you didn't bring a way to die, you can take off your armor and die in the fire pit after the fight is over.
- NORMAL: 12F FUGA-DOKORO
- Take the elevator to 13F KAMOTO, then the escalator down to 11F NOKEJIRI, then up to 12F FUGA-DOKORO.
- HARD: 14F FUNE-HASHI
- Take the elevator to 16F KAGA, go right from the elevator, then go straight across the pit in the next room. In the room after that, the direction to reach 15F UGE will be random, but it will be the only Down escalator ahead of you. Once on 15F UGE, the path to 14F FUNE-HASHI will also be random.
- NIGHTMARE: 17F KYUZAKA
- Take the elevator to 16F KAGA, go right from the elevator, then take a left at the next room to go up to 18F TATA. Once there, take another left at the next room to reach 17F KYUZAKA.
Fight Strategy
The following strategies are more about preparing for Hard or Nightmare, rather than Normal. Even Fighters under Grade 5 can defeat Normal with little preparation. As Normal does not drop any significant rewards (aside from the occasional Quest), it serves as more of an introduction to what the fight looks like rather than an actual challenge.
- NORMAL: 3:00 min.
- HARD: 3:30 min.
- NIGHTMARE: 3:30 min.
Arena
Red Napalm's arena has four structures in it for cover against her M2G. However, after a certain amount of time has passed, or after Red Napalm loses enough HP, one of the structures will collapse. The order in which they collapse depends on the difficulty of the fight, but will otherwise be the same order every time. A structure will collapse after 75%, 60%, 40%, and 20% of the time limit is left.
The safest structures are the pillars on the Left and Right of the arena, as they provide the most cover. If you stand behind one of these long enough, Red Napalm will actually lose sight of you altogether. Most strategies involve running to one of these pillars immediately and eating your shrooms behind it. Different pillars are the "safest", depending on the difficulty, as one will always break before the other. On Normal, the Left is safest; on Hard, Right; on Nightmare, Left.
There's also the Center pillar that rises out Red Napalm's elevator. However, this is more of an obstacle than actual cover. While it's possible for it to block some shots, all of the openings in it make it more likely that she'll just shoot you through it,
| N | H/NM | N | H | NM |
|---|---|---|---|---|
| 3:00 | 3:30 | Start | ||
| 2:14 | 2:36 | Right | Back | Center |
| 1:47 | 2:05 | Left | Left | Back |
| 1:11 | 1:23 | Center | Right | Right |
| 0:35 | 0:41 | Back | Center | Left |
Shrooms
NOTE: Hard and Nightmare fights will NEGATE any mushroom effects before entering.
There are a couple of shroom effects Red Napalm will immediately attempt to dispel using a wave attack. Blocking this wave will still remove the effects, essentially preventing these shrooms from being used. On all difficulties, Red Napalm will immediately attempt to negate the following mushrooms:
While the Exploshrooms can deal damage and sometimes knockdown, the damage is very little, and she will recover from being knocked down almost immediately. Shockshrooms will only deal a miniscule amount of damage, and the Electricity will not stun her at all.
It may still be possible to use some of the above mushrooms while she is stunned, such as Vampire Fungus.
After the player inflicts an attack on her, this will immediately dispel the effects of Slowmungus. However if the player does not use attacks Slowmungus will continue to work for it's full duration, so the effect may be used defensively.[1]
Weapons
The weapons that everyone uses is the Pitching Machine and the Bowling Crusher A. If you’re using the Pitching Machine you need to pop some Red Stingshrooms, pop some Dragonshrooms, pop either a Cateye Shroom to slow down time or Umbrella Rib Fungus to go invisible for a few seconds, once you done that pop a rage and go to town on her. If you’re using the Bowling Crusher A use the same method that you did with the Pitching Machine but in vice versa.
I would recommend getting them to a higher level and be uncapping it before you get a crack at her.
Decals
Red Napalm's attacks
Uncle Death Mail
Quests
| No. | Difficulty | Name | Category | Detail | Reward | Repeat Reward |
|---|---|---|---|---|---|---|
| 204 | ★★ | Hunting Red Napalm #001 | Destroy | Defeat Red Napalm(NORMAL). | ||
| 205 | ★★★ | Hunting Red Napalm #002 | Destroy | Defeat Red Napalm(HARD). | ||
| 206 | ★★★★ | Hunting Red Napalm #003 | Destroy | Defeat Red Napalm(NIGHTMARE). |
Video
Gallery


Trivia
- Red Napalm was originally teased to have a thin, pickaxe-esque weapon. For unknown reasons, this was dramatically changed into the M2G-87 instead.